


If receiving payments is an important aspect of your business, 3veta’s integration with Stripe is the best way to manage your cash inflows.
Not sure how it works?
In this article, we’ll walk you through the exact steps you need to connect your 3veta account with Stripe.
What you can do with 3veta and Stripe?
Stripe is one of the leading payment providers in the world. That’s why we decided to team up with Stripe and allow you to get paid for your services and the meetings you schedule.
3veta is a Verified Stripe Partner, listed on their partner category page.
Inna, a nutritionist, and 3veta customer says:
“I have all my video meetings through 3veta, so I have moved away from Zoom completely. I usually receive payments for several sessions in advance and that’s also perfectly settled (including invoices, refunds, etc.). I cannot recommend 3veta enough!”
It’s as easy as Inna puts it.
We’ve also created a short video on how to get started with payments.
Alternatively, keep reading this step-by-step process.
How to onboard with Stripe?
First, log into your 3veta account.
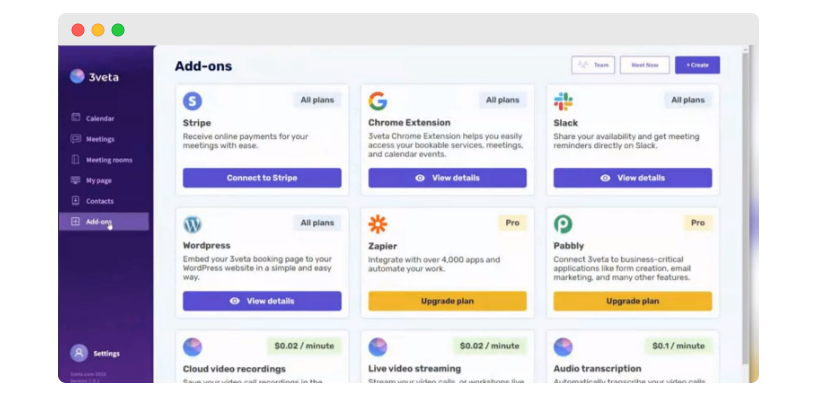
From the 3veta menu, go to Add-ons.
Select Stripe and click on Connect to Stripe to start the stripe onboarding process.
☝️ Side note
The process for connecting to a new Stripe account and an existing Stripe account are slightly different. We’ll understand how to onboard with both of them.
Click here, to read how to onboard with a new Stripe account.
Click here, to read how to onboard with an existing Stripe account.
Onboarding with a new Stripe account
If you have never used Stripe or Stripe Connect before, you’ll be asked to create a new account.
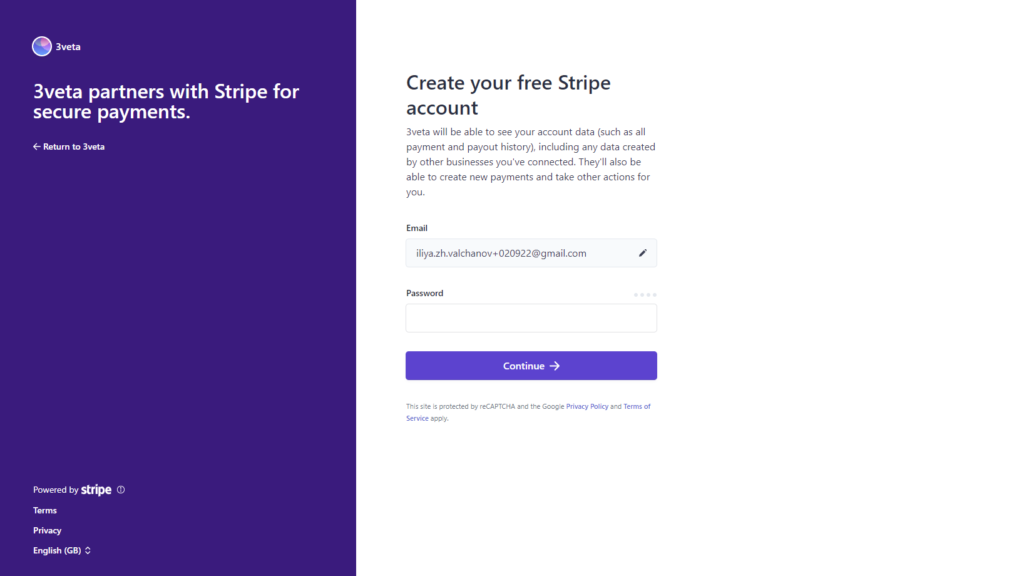
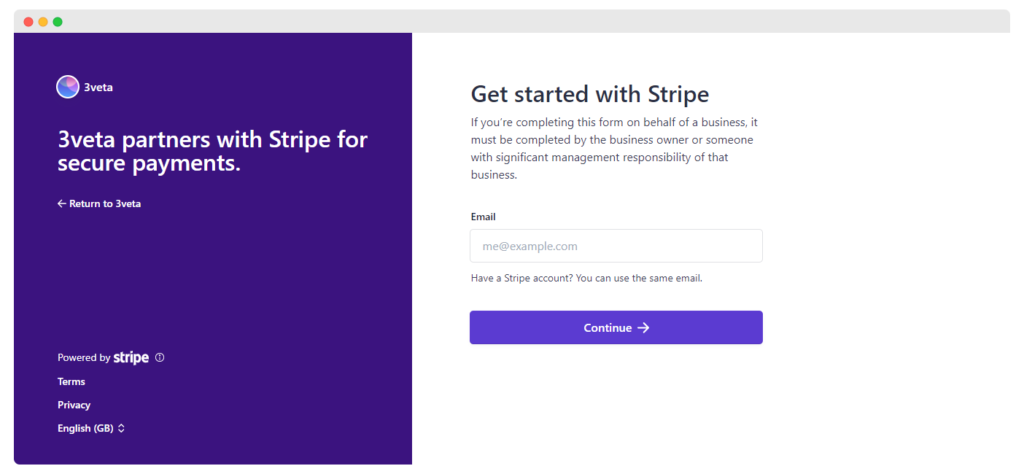
You’ll be taken to the onboarding page where you have to fill up the details.
- Enter your email address and click on Continue.

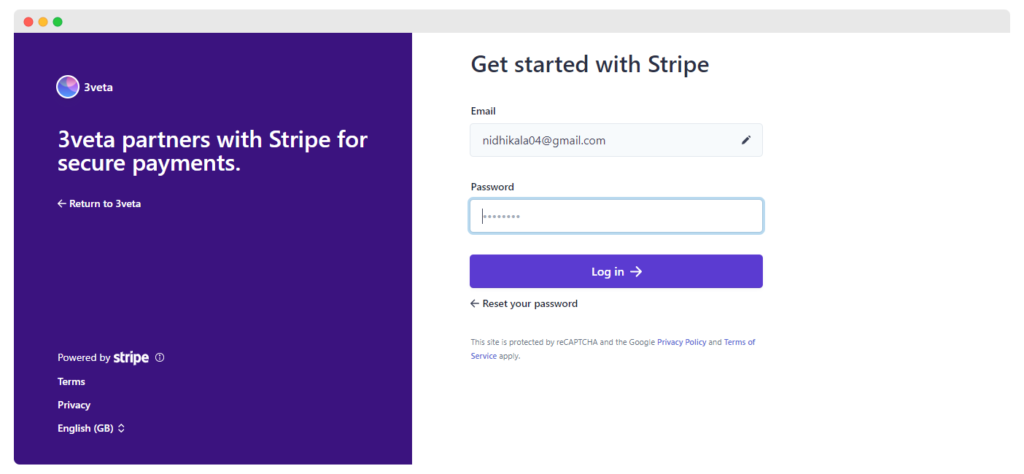
- Next, you’ll see a new field to enter the password. Create your new password and click on Continue.
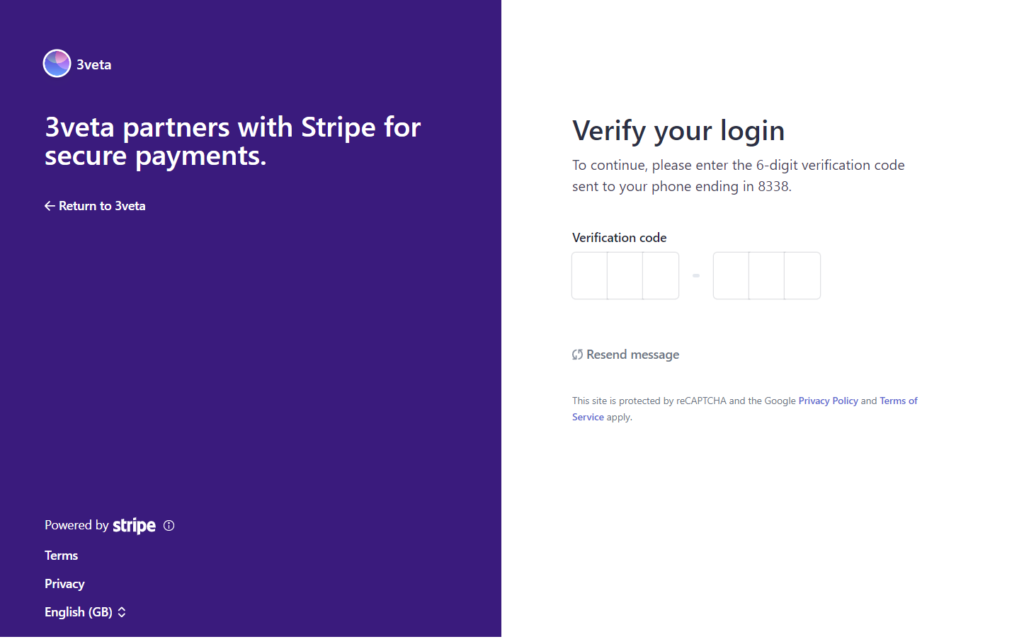
- You will be asked to secure your account with your phone number. Alternatively, you can use the Stripe authenticator app (see the fine print in the lower part of the image). Once you add your phone number, you will receive a 6-digit code to verify it.

- Your account is now secured. As a final security measure (in case you don’t have access to your phone number), you will also receive a unique emergency backup code. Make sure to write it down.
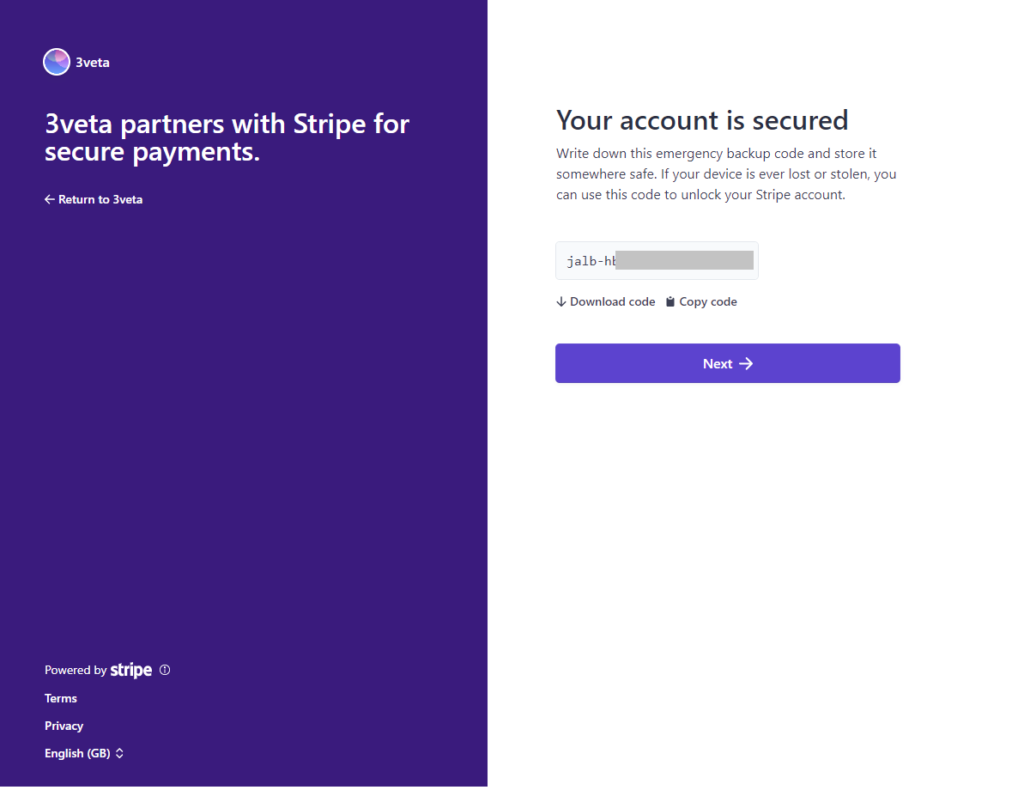
Your account has been created.
Now it is time to give extra details about yourself and/or your company, to make sure you will receive the payments directly into your bank account.
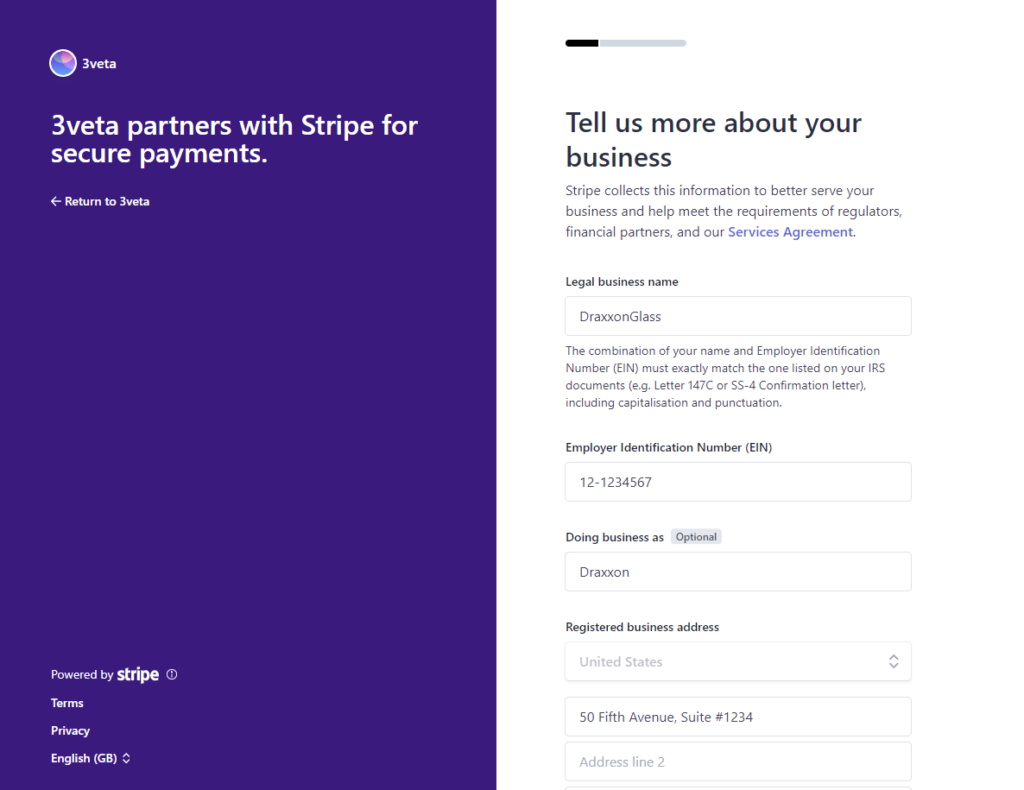
- Select your country, type of business, and business structure. Note that these will vary from country to country. In this example, we will be registering a US business.

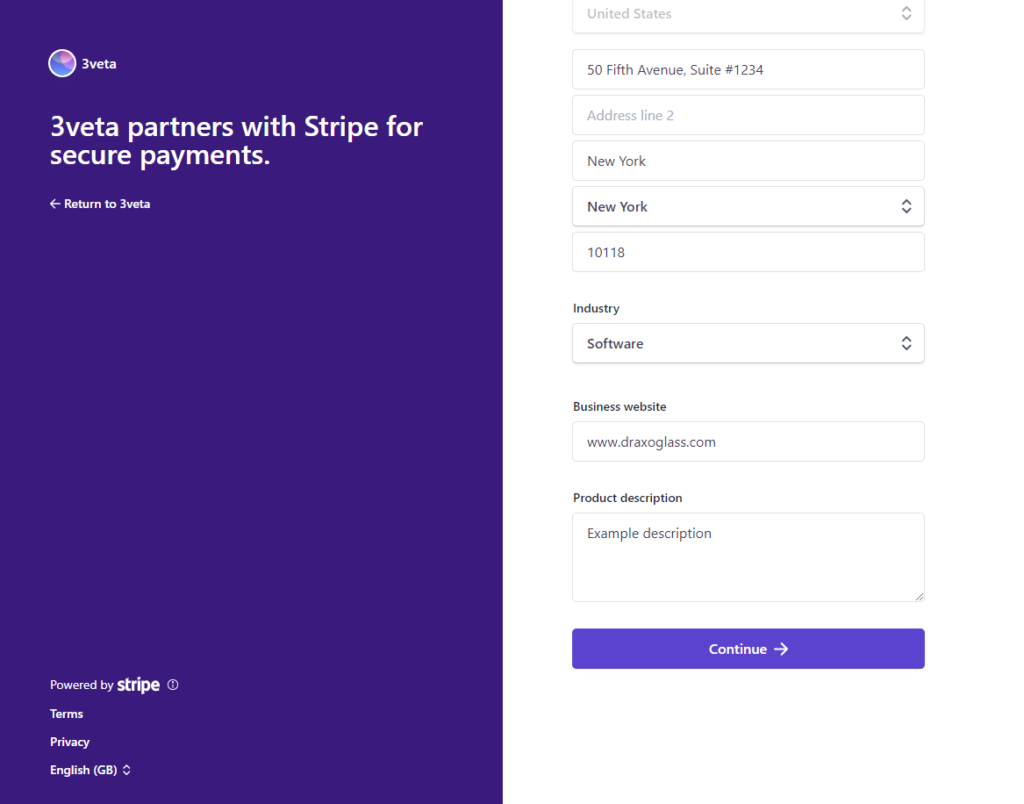
- Next, add more information about your business: legal business name, EIN, display name (if different from the legal business name), registered address, industry, business website, and product description.
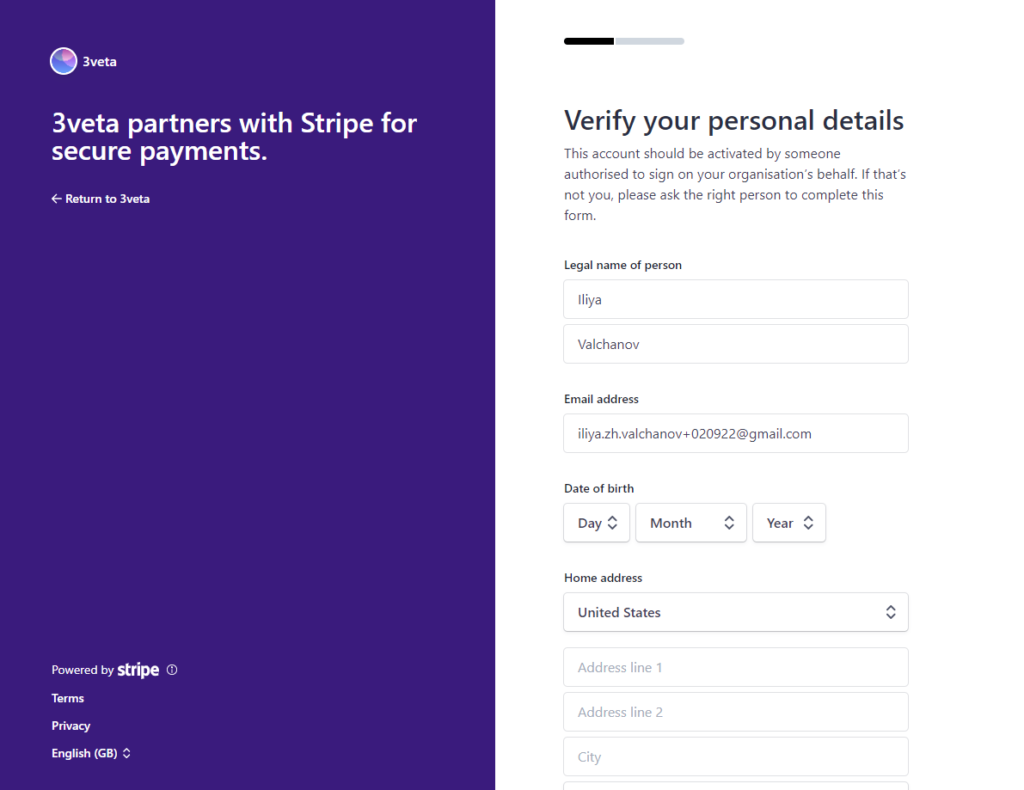
- These were the company details. Now you need to give some more info about yourself, as you will be the one operating the account. Adding your name, date of birth, home address, phone number, and last 4 digits of your social security number will be sufficient.
- In the next step, you will be asked for your full social security number. Remember, you will be receiving payments, that’s why the process is so exhaustive.
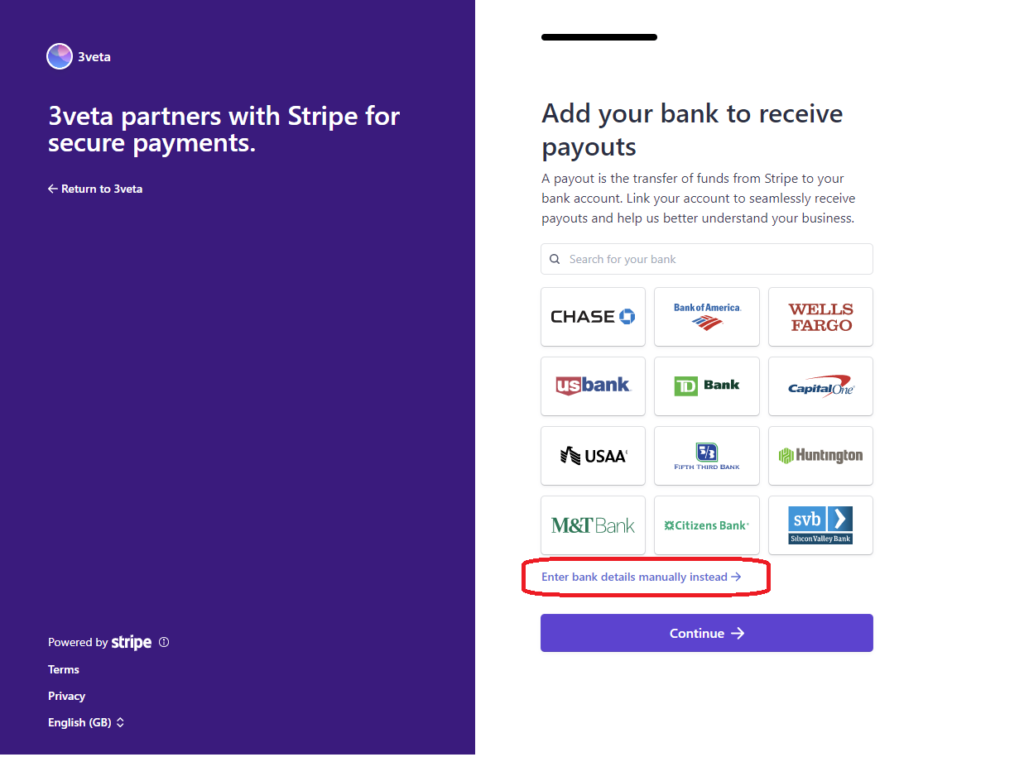
- Select your bank. There is a wide selection of banks that are integrated with Stripe: Chase, Bank of America, Wells Fargo, USBank, TDBank, CapitalOne, USAA, Fifth Third Bank, Huntington, M&TBank, Citizens Bank, and Silicon Valley Bank. If you are using a different bank, you can also add the details manually.
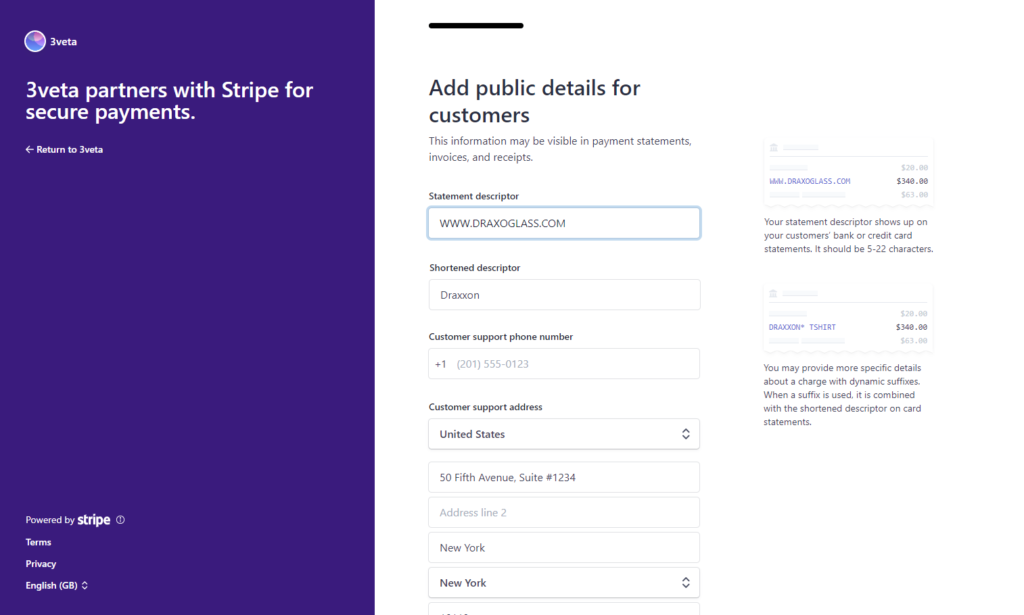
- Next, you should input your preferred statement descriptor. A statement descriptor is a text which is shown on the bank statements of people who are paying you. We highly recommend choosing a descriptor that would uniquely identify you, so that clients are never confused about this purchase. The last thing you want to do is to place a strange unrecognizable statement descriptor, because this may cause some customers to ask for a chargeback. Make sure to also include the phone number where customers can reach you, as well as your address (which should be automatically populated from previous steps).
- As the final step of the process, simply review all the information you have provided and Submit your application.
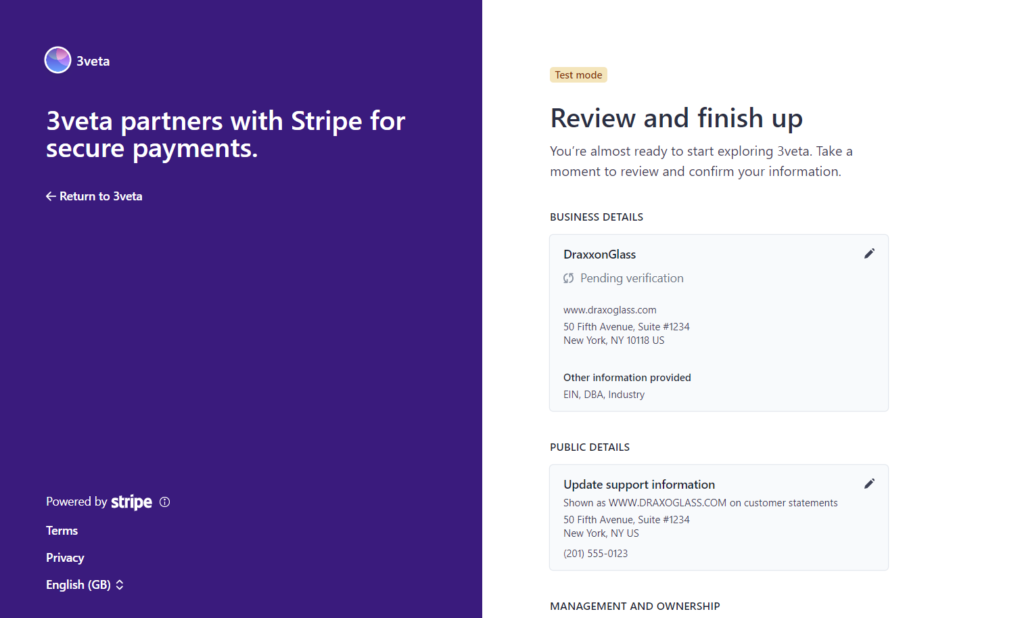
Congratulations!
Now you are eligible to receive payments with Stripe through 3veta.
Note that this creates an account with the 3veta Stripe Connect instance, as well as with Stripe as a whole. This means you can use the same account and login details to receive payments on other Stripe Partner platforms.
If you had been through this process before then onboarding with an existing Stripe account would be more appropriate for you.
Onboarding with an existing Stripe account
If you have created a Stripe account in the past, you can simply connect it.
After clicking Connect to Stripe, you’ll see a new page where you need to enter the email address.
- Add your email and click on Continue.
- You’ll see a new field: ‘password.’ Enter your password and click on Log in.
- Once you have logged in, you will be asked to verify your identity either through an OTP on your phone or the Stripe authenticator app. Authenticate yourself and complete the verification.
- Stripe will detect your Stripe account(s) and ask you to confirm that’s the one.
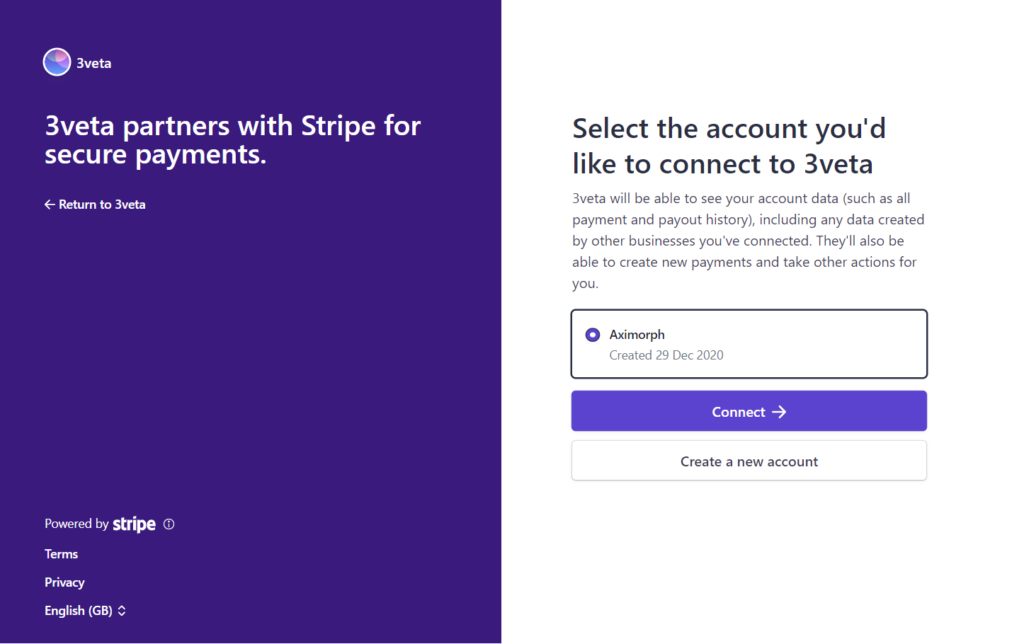
If you are okay with this account, click Connect. Alternatively, you can create a new account.
- Once you, do you’ll be taken back to 3veta with a success message.
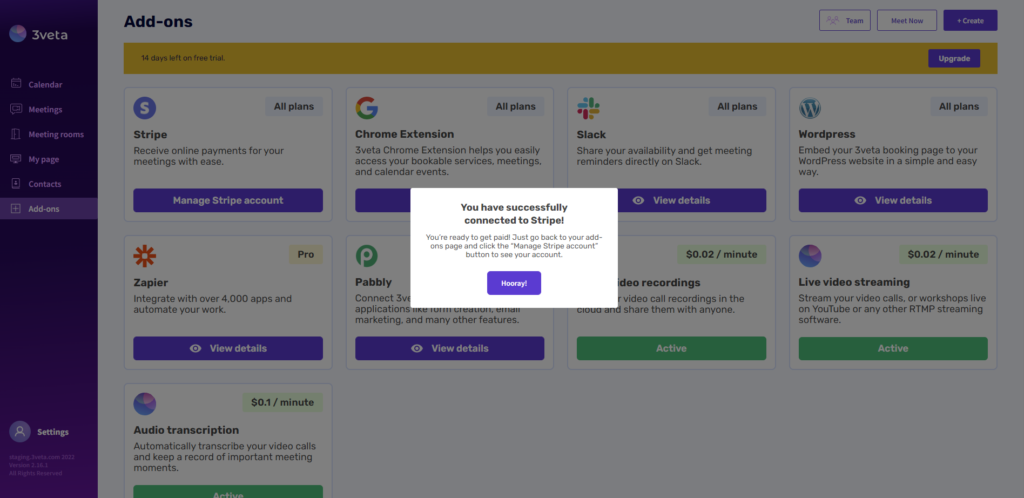
After this point, you’ll notice that under 3veta’s Add-ons tab, the Stripe button changed from Connect to Stripe to Manage Stripe account.
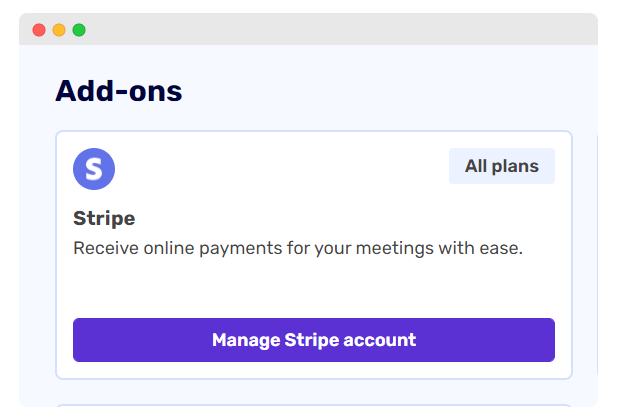
Clicking this button will take you to your 3veta Stripe Connect Dashboard.
What changes in the 3veta platform (you’ve unlocked new features)
Until this point, you could use only a part of the 3veta features. Now you’ve unlocked the full 3veta capabilities.
The main changes are two:
Now your customers can make card payments via Stripe before booking the call with you via 3veta.
How to create a paid scheduled meeting?
Everywhere in the 3veta platform, there is a button in the top right corner that says ‘Create’.
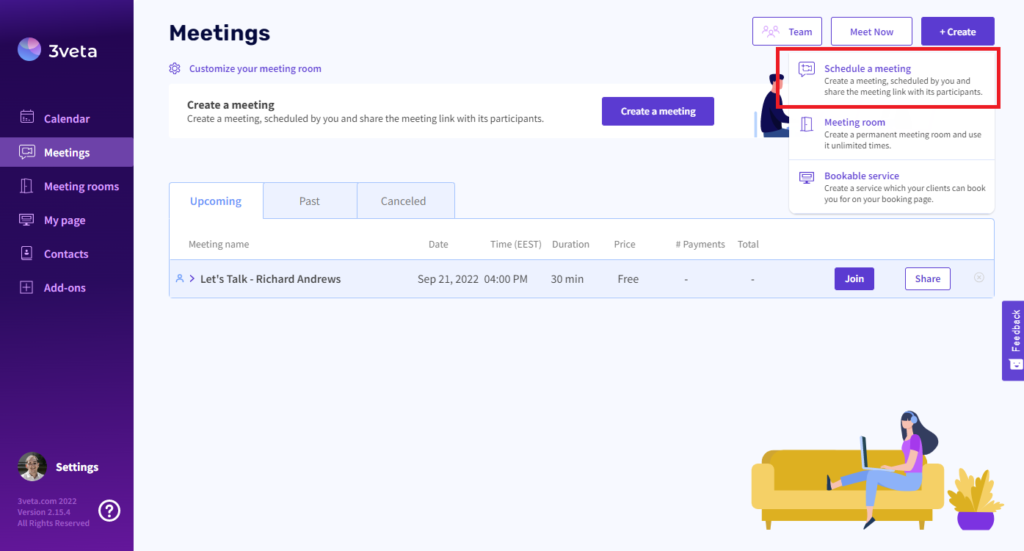
Click Create.
And then, select Schedule a meeting.
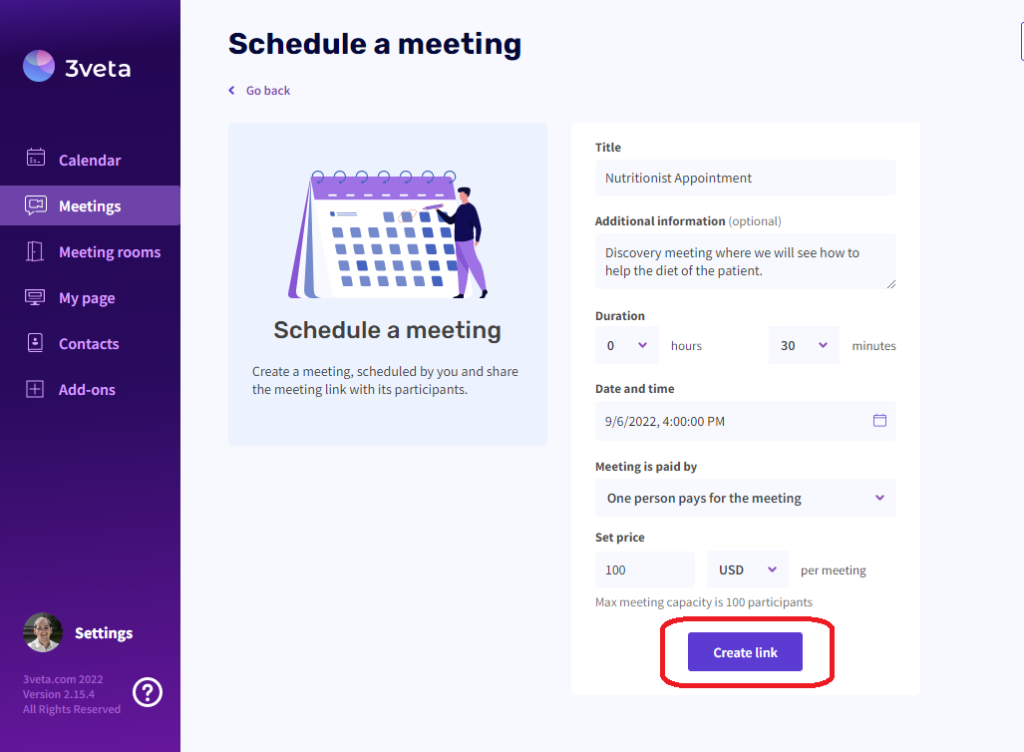
You’ll see a new screen to fill in details about the scheduled meeting.
There are several fields to fill: title, duration, date and time, and amount to be paid for the meeting.
Go ahead and fill in the title, duration, and time as you see fit.
Finally, you’ll see the ’Meeting is paid by’ field. Once you click it you’ll see 3 options:
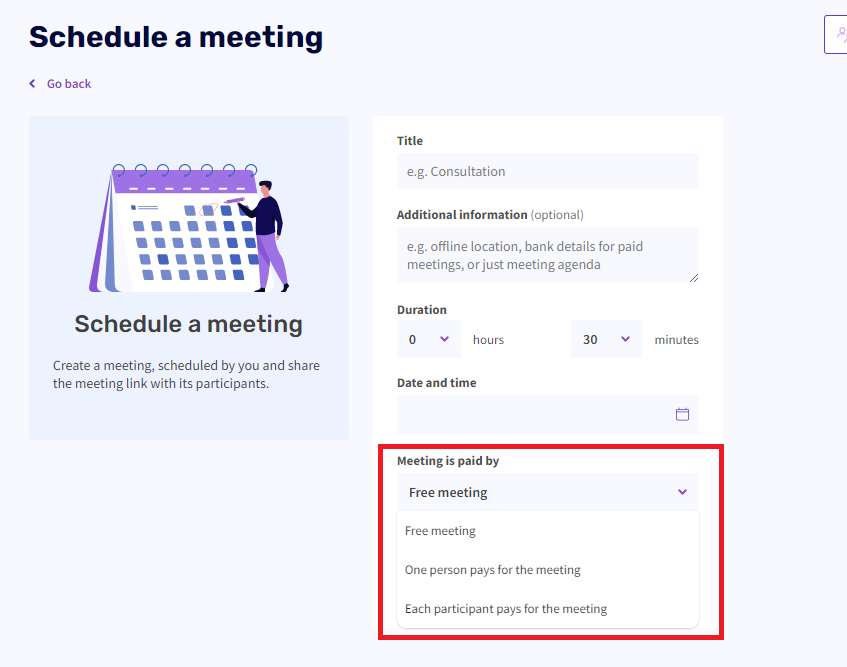
- Free meeting stands for a standard free meeting. The Stripe integration has nothing to do with it. This is the core feature you’ve been using all along.
- One person pays for the meeting is the traditional case. You send the meeting to someone and they pay for attending it. This is perfect for 1-1 meetings. Another use case is company events, where the company pays for everyone attending. Once paid, everyone with the link can simply enter the meeting.
- Each participant pays for the meeting is the case where you are hosting an event where (usually) participants are paying a lower fee but separately. Think about workshops, sports classes, paid webinars, etc. Every user will need to pay separately to enter your meeting room.
Once you select one of the two payment options, a new field with come out: Price.
You can select the price, as well as the currency in which you want to charge your users.
Once you do, you are all set to Create the link.
A success window will pop up with the created link.
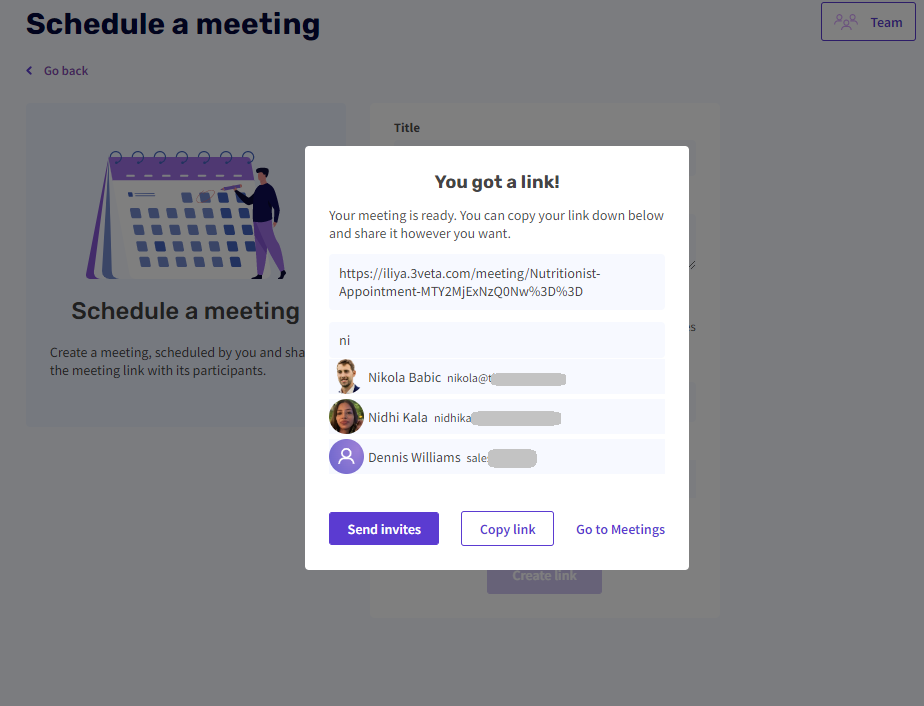
You can use the search function to search through all your 3veta Contacts. A person will come up in your contacts if you have had at least one interaction with them through 3veta.
You can select one or more people and click Send invites to invite them to pay for your paid event.
Alternatively, you can simply click ‘Copy link’ and send it in any other way you prefer (e.g. email, post on social media, send in WhatsApp, etc.)
If you need to reference this meeting later, it is available both in your Calendar, as well as the Meetings tab.
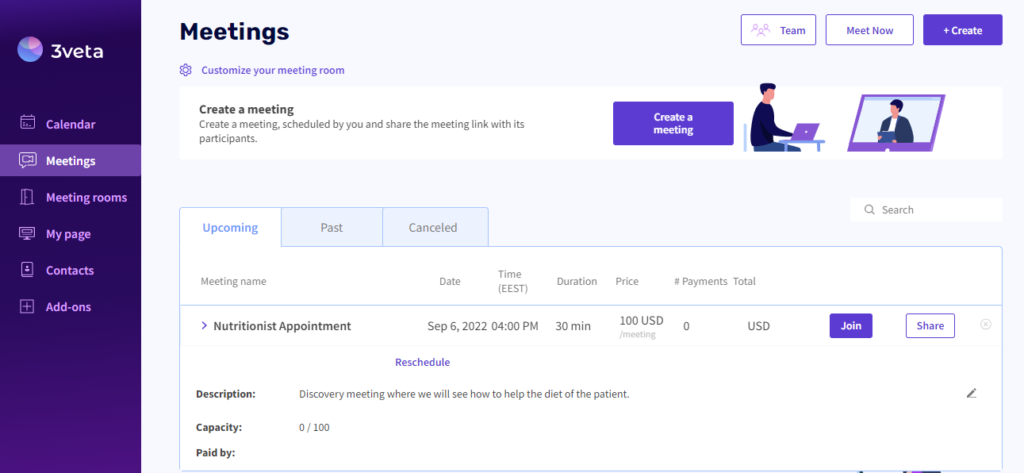
Need to share it again? Click on ‘Share link’ to open the link sharing menu once again.
How to create paid bookable services?
If your business is bookings-driven, then you might want to allow people to pay you directly as they book the meeting.
To reach your bookable services, you can click My page from the 3veta menu.
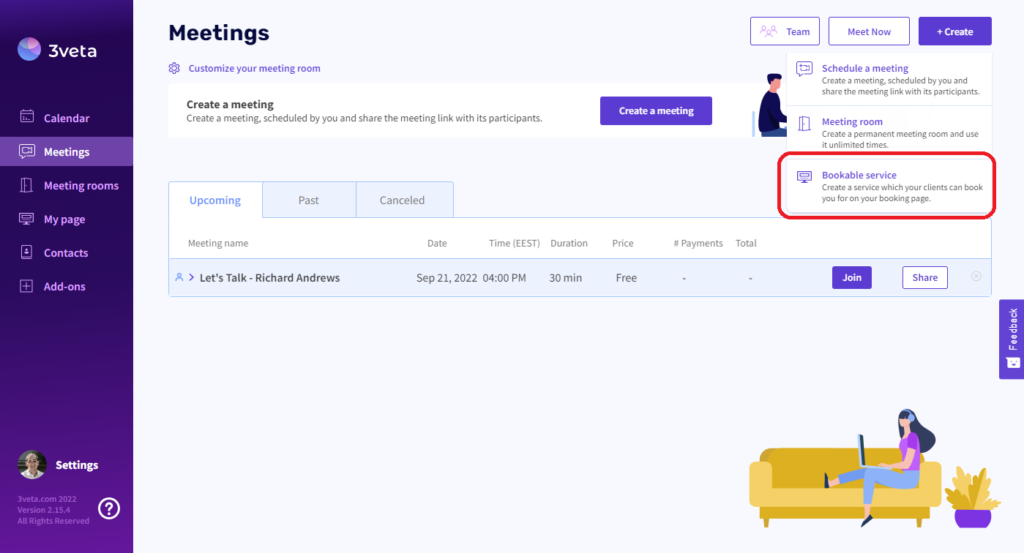
Alternatively, everywhere in the 3veta platform, there is a button in the top right corner that says ‘Create’.
- Click on ‘Create’ and select Bookable service.
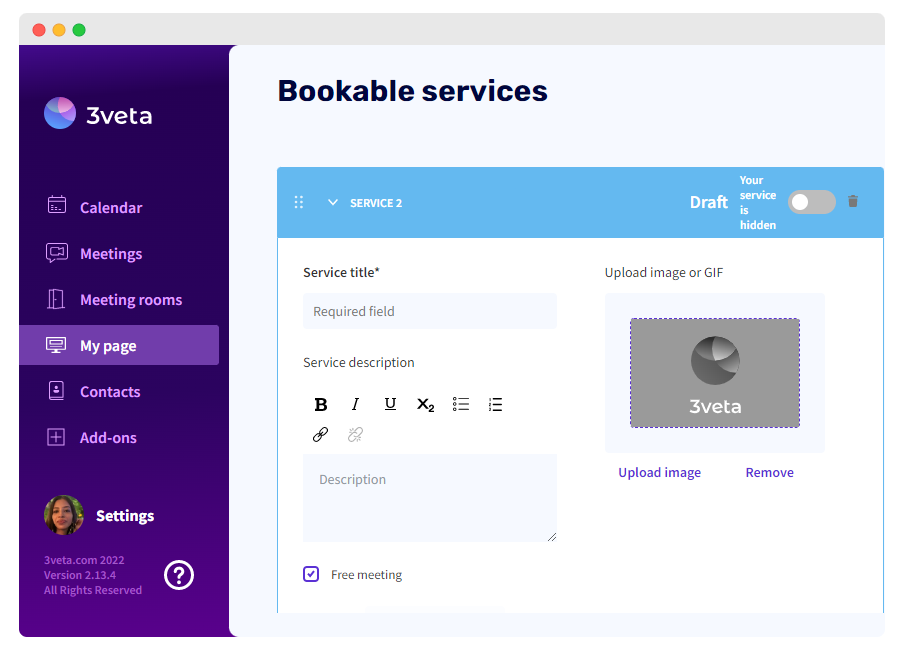
- Now, you’ll see a dialog box to fill in the details—service title, service description, province of the services, and duration. You can customize your page by adding your business logo.
- To make this service paid, untick the ‘free meeting’ box. The inactive price field will then become active and you can enter a price.
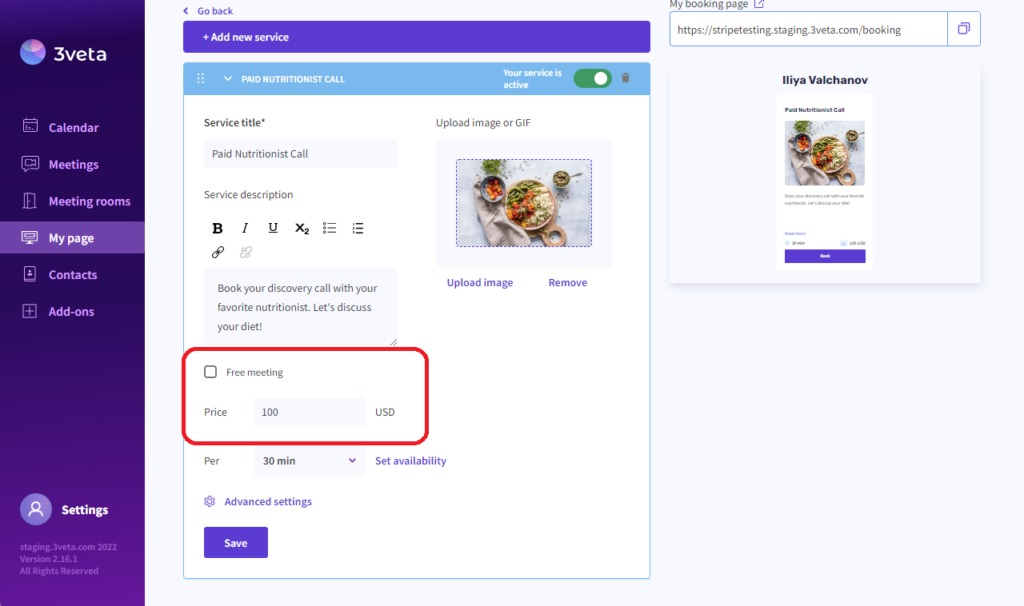
☝️ Side note
When adding the amount, your currency gets selected based on your location.
- Click ‘Save’ and the new paid service will be available on your booking page.
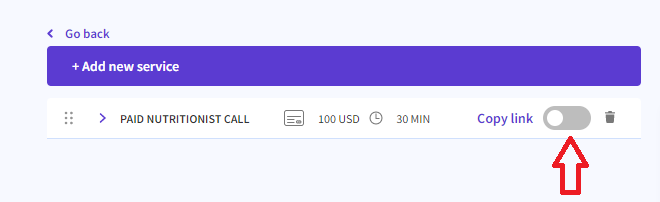
The bookable service you just created could be on your booking page or only for people with the link.
If the radio button is green, this means the service is seen on your booking page and anyone could find it.
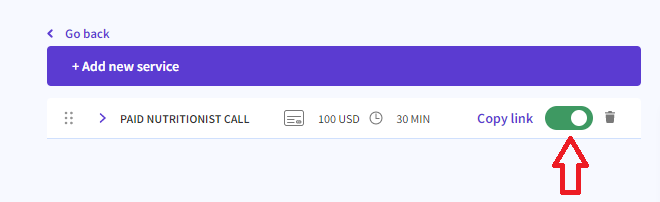
If the radio button is grey, the service still exists but could be found only by following its exact link.
How do your customers pay for meetings?
When you share the link to your booking page (or to the specific service) with your customers, they need to click on the Book option.

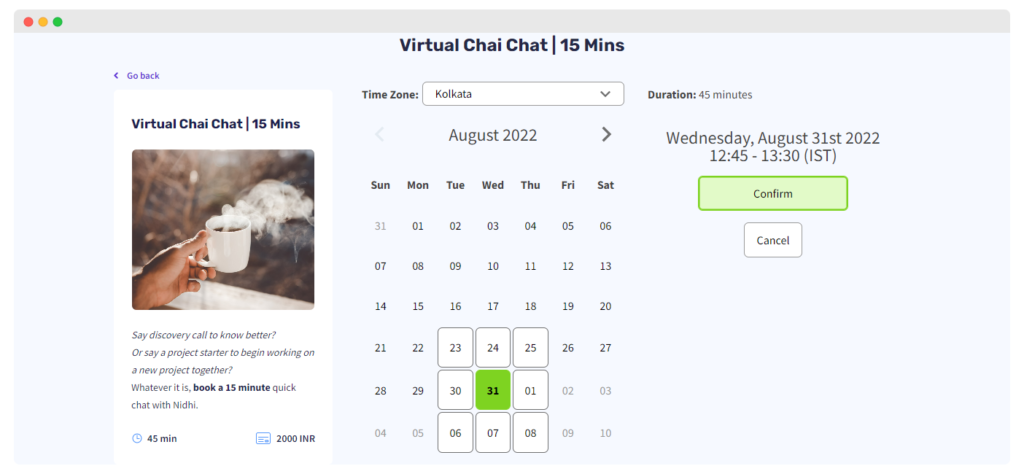
On clicking the Book option, they’ll see your calendar and availability.
They will choose the date and time according to their preferences.
Once they’ve selected the date and time, they’ll see the Confirm option to complete the booking.
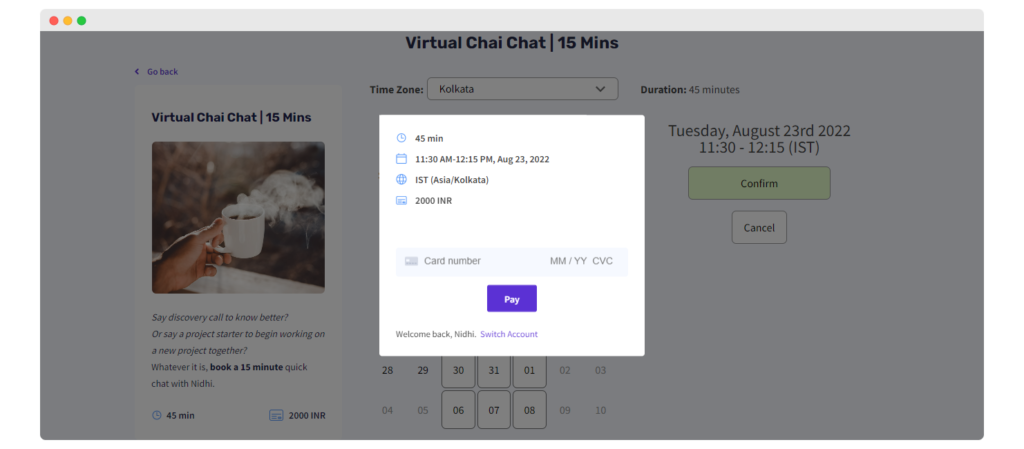
A new window will pop up asking them for payment details.
They’ll see a confirmation of the duration, date, time, timezone, and price.
To book this meeting with you, they’ll need to add their debit or credit card details and click on Pay.
Only when they complete the transaction, is the booking confirmed.
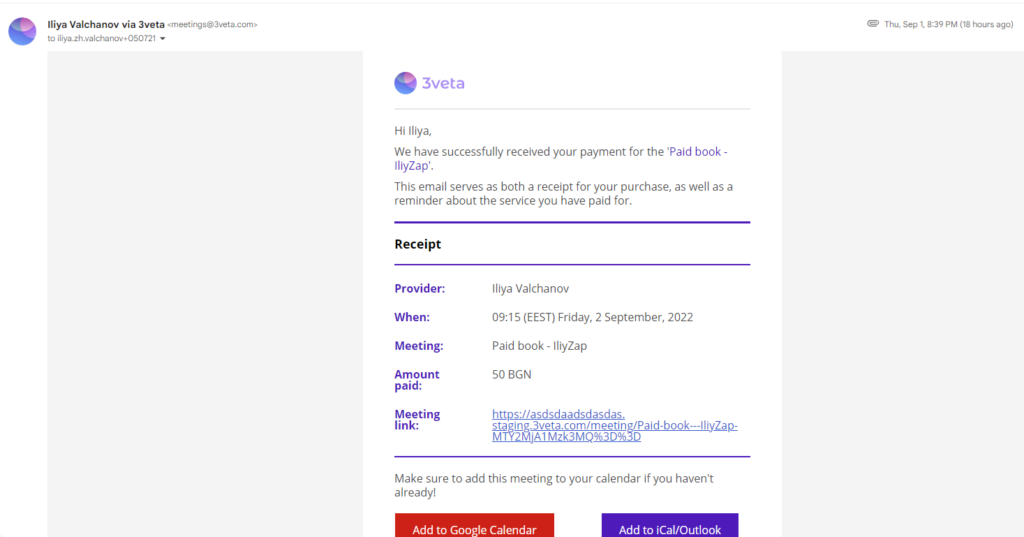
Next, both you and your customer will receive an email with the booking details and a separate one for the payment.
Here’s an example email for payment confirmation.
What does your Stripe dashboard look like?
Apart from all these new perks in the 3veta platform, you will also have access to a whole Stripe dashboard, with all of Stripe’s functionalities.
Go to Add-ons and then select ‘Manage Stripe account’.
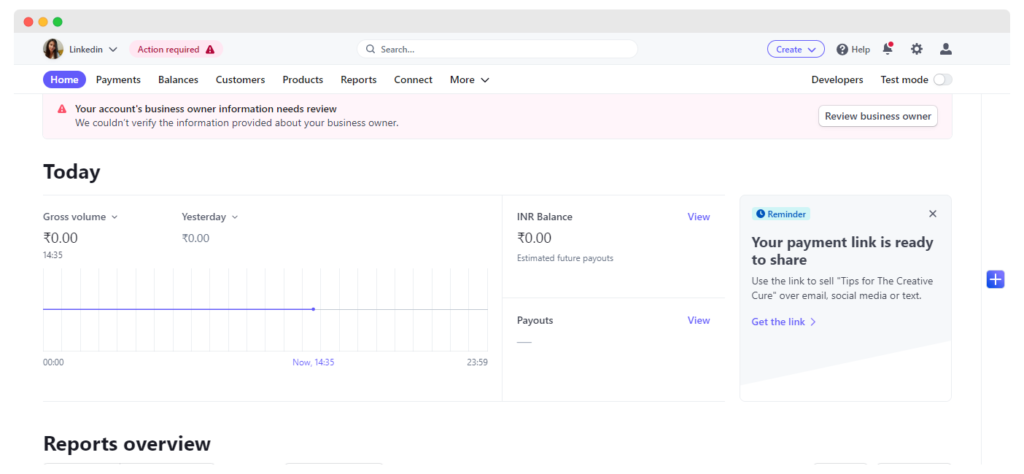
When you open your Stripe account, the first thing you’ll see is your Stripe dashboard. You’ll see the gross volume, the total balance in your currency, and your payouts. Here is what it looks like.
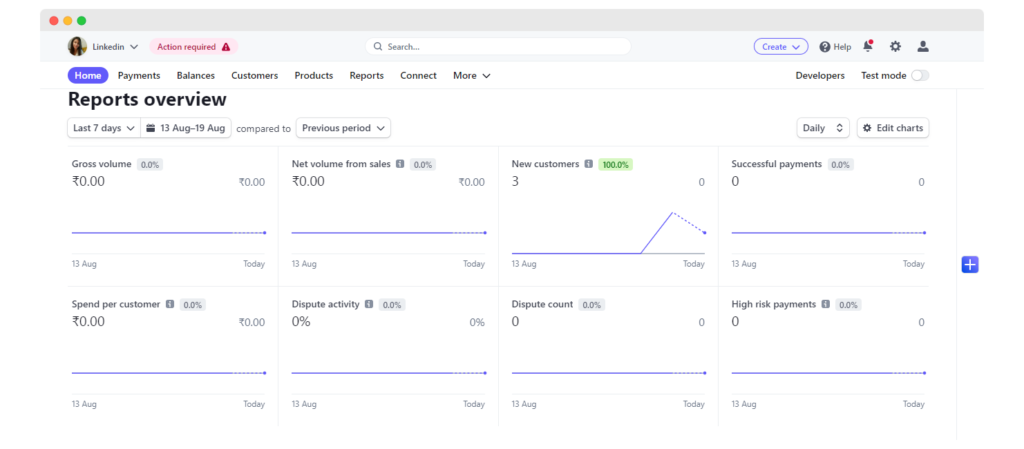
You also get a detailed report with the breakdown of payments—net volume from sales, new customers, successful payments, spend per customer, dispute activity and count, and high-risk payments. This information gives you an overview of your sales and your customers and things that needs to be optimized in your sales process.
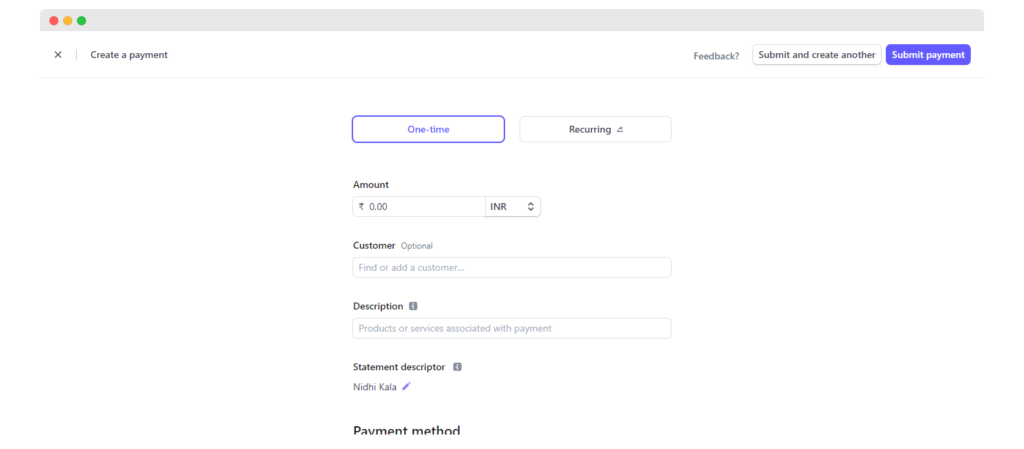
Payments tab
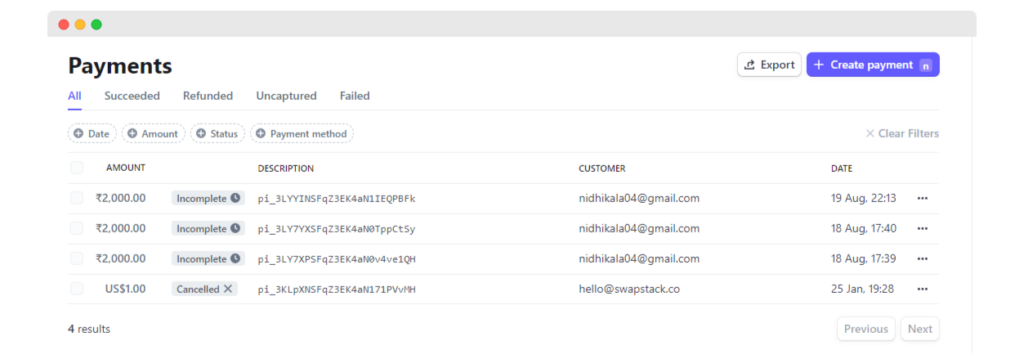
Under the payments tab, you can create payment links for one-off services and recurring services. All you have to do is generate a link and email the receipt to your customers.
You’ll see different tabs like all, succeeded, refunded, uncaptured, and failed, and check your payment status for each transaction.
Balances tab
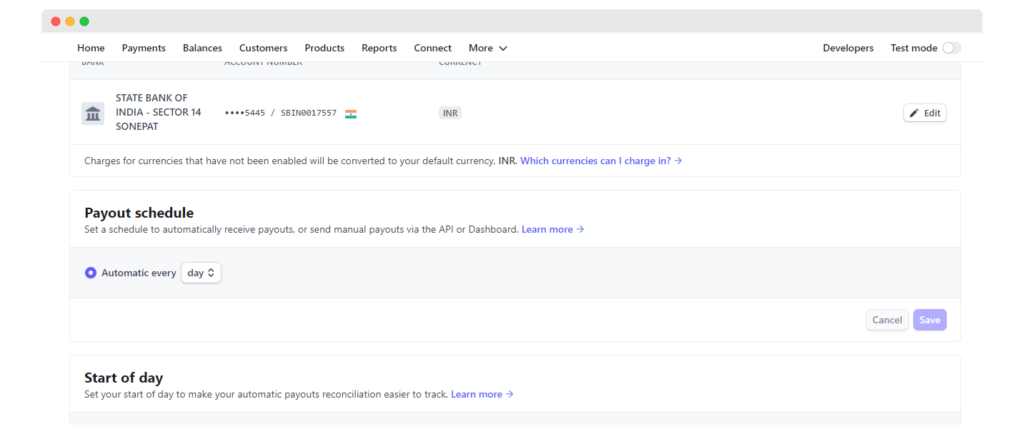
Under balances, you can add your bank account details and your payment schedule to receive payments. Hopefully, you’ve completed this while onboarding with Stripe.

If you haven’t or want to change it, go to Overview.
Click on Go to payout settings and add your bank account where you want to receive the payments, set your payout schedule, and start the day. Click on Save after every change you make.
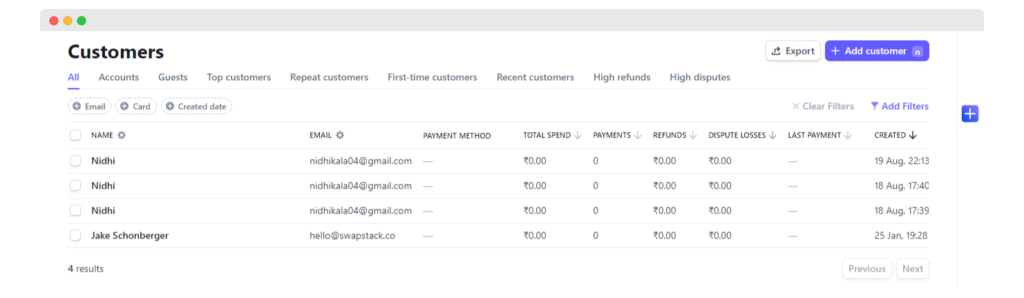
Customers
Under customers, you’ll see the list of customers who have paid you. Different tabs like top customers, repeat customers, first-time customers, and recent customers help you keep a check on your customer cycle.
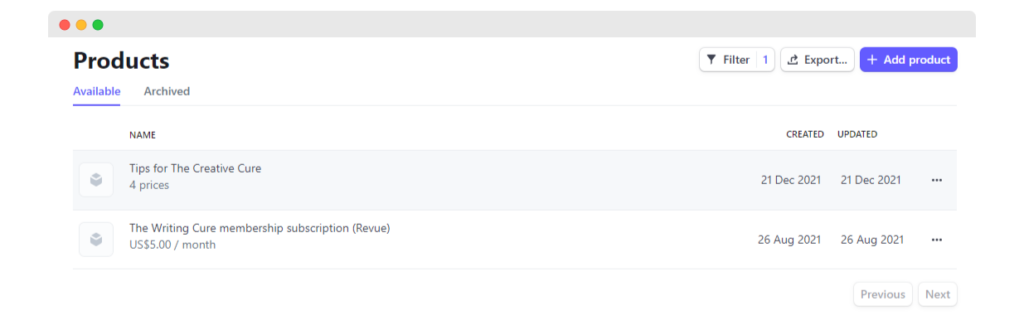
Products
Under products, you have all the products visible for which you are asking customers to make Stripe payments.
Time to get started…
Feeling confident to start accepting payments online?
Integrate Stripe with your 3veta account and get a bird’s view on every sale you make online—from the total sales you made to one-off and recurring payments you receive.
For other guides on how to use 3veta, head to our Help Center.
If you prefer video content, here’s our YouTube playlist with support videos.
If you need any more help with this, feel free to contact us at support@3veta.com.